


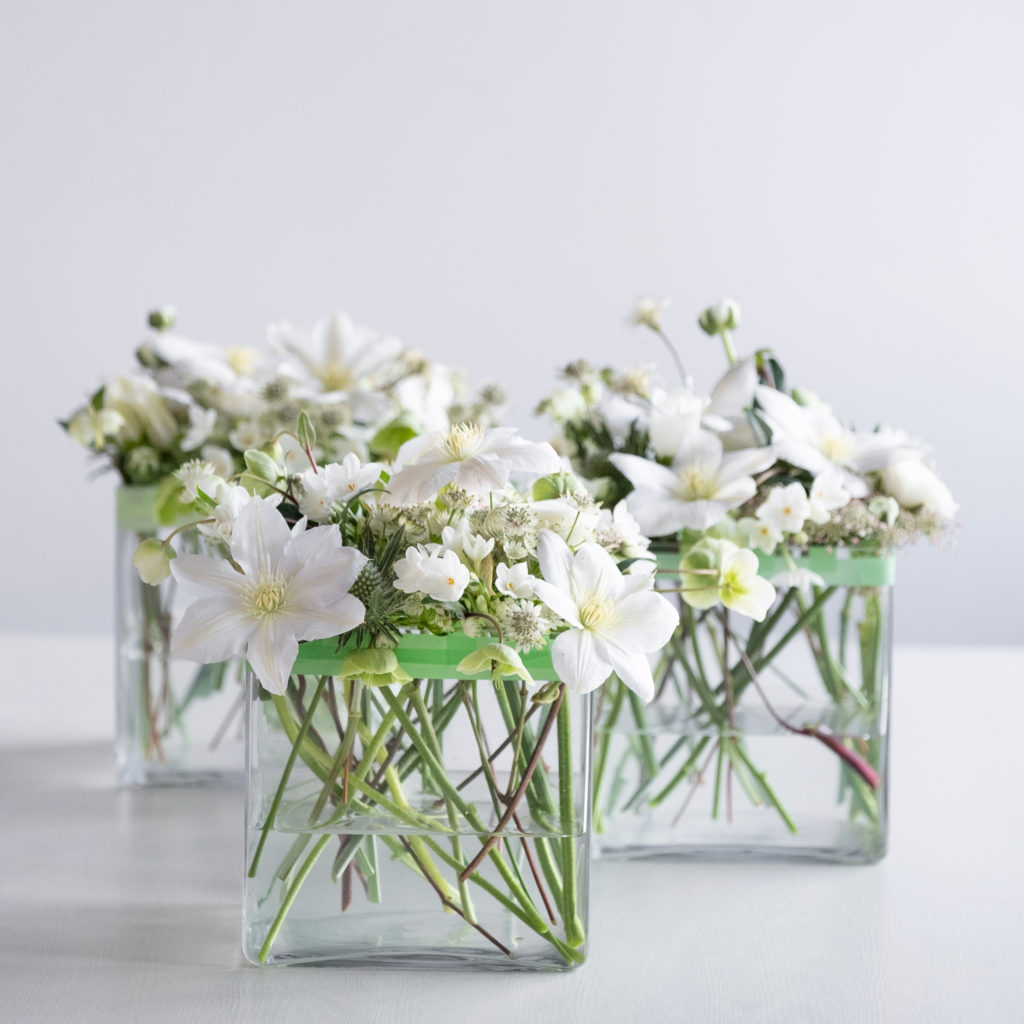
How I Made It: Washi Tape Vases
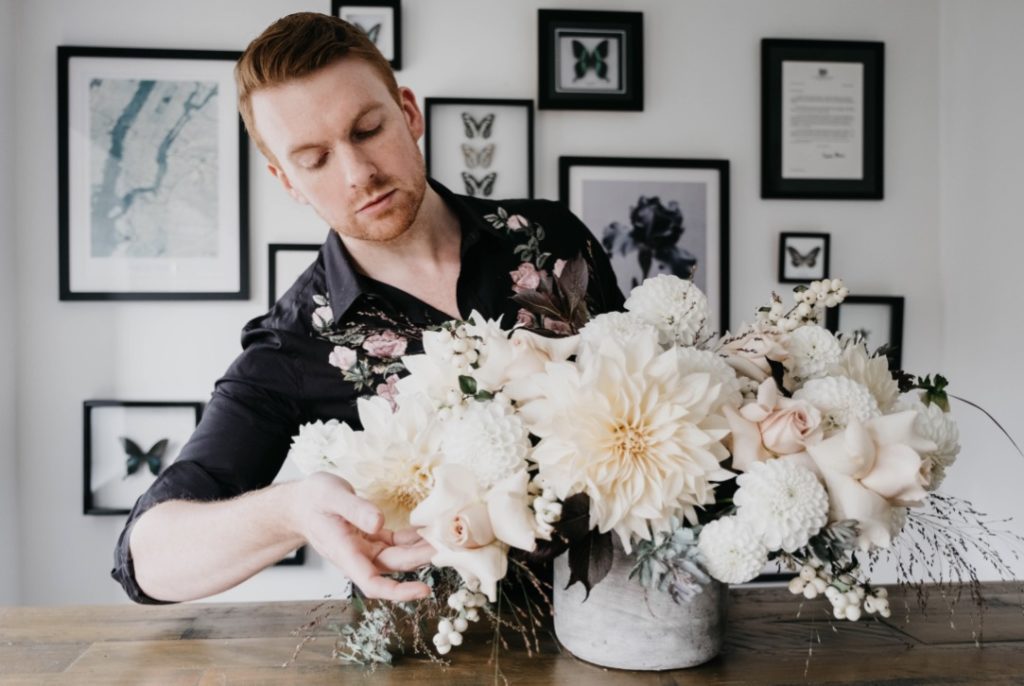
A Floral Design Tutorial by Joseph Massie
Photography by Stella Photography
Sometimes, I can be rather quite a bore.
There’s no escaping it; no matter how many shiny new things there might be to play with, and despite our relentless cultural pressure to constantly be pushing forwards, somehow I still end up coming back to the good ‘ole fashioned techniques that I’ve seen, and that we’ve all seen, time and time again. I don’t know what it is – despite the abundance of new tips, toys and techniques that abound, I do find such a, well, a pleasure in revisiting older techniques and re- examining them with fresh eyes to see what more we might be able to learn from them. What possibilities did I miss the first time around? Is there someway I can add additional value to my business or artistic practice, by re-examining something that I already thought I knew? What new solutions or opportunities can I find if I sit here with this, for just a little while?
I think maybe it’s been my exploration of sustainable floral design techniques over the past year or two that might just have something to do with it. Whilst writing my new Sustainable Floral Design Techniques e-books , I dove deep into the myriad of techniques that I’d learned early on in my career, and examined them with fresh eyes. Take the technique I’m sharing today, the tape grid technique – it is as old as time – yet with some fresh thinking we can re-invent this little gem to be new, and newly useful, in a multitude of different ways – and without very much expense involved at all.
In this excerpt from my new release, we’ll explore afresh this super simple technique by adding a new value to it – and it’s exactly this kind of work that we’ll be diving into within my new floral membership – Flower Class. Launching February 1st 2021, Flower Class is our new educational membership for flower lovers who seek a creative, positive floral community whom wish to build out a robust toolkit of sustainable floral design techniques, develop their understanding of floral theory (the why, behind the how) and how to find new ways to add value to our craft, and to our businesses. We’ve been developing Flower Class for quite some time now, and trust me, it’s going to be an awful lot of fun. If I’ve piqued your interest, you can sample just a little of what we have in store by joining us for our free Flower Class Sessions series, launching January 14th. The Flower Class sessions featuring three free classes, plus an exclusive webinar, it’s my hope that they’ll be of real value to you.
To the task at hand – today let’s dive in to re-examining, and re-inventing an age old technique – the tape grid technique.
A side note before we head further into this article – please know that this How I Made It article features gifted product, grown by the lovely folk over at Marginpar. If you haven’t worked with their blooms before, you are in for a real treat – for further information, be sure to check out the Marginpar range of blooms right here.
Flowers:
CLEMATIS ‘AMAZING VIENNA’ – SPONSORED BY MARGINPAR
ERYNGIUM ‘SIRIUS QUESTAR’ – SPONSORED BY MARGINPAR
ASTRANTIA ‘BILLION STAR’ – SPONSORED BY MARGINPAR
DAUCUS CAROTA ‘DARA’ – SPONSORED BY MARGINPAR
CAMPANULA ‘CHAMPION WHITE’ – SPONSORED BY MARGINPAR
HELLEBORE ‘WINTERBELLS’
NARCISSUS ‘PAPERWHITE’
RANUNCULUS ‘FIRENZE’
Sundries:
1 x CLEAR GLASS VASE
A SELECTION OF DECORATIVE WASHI TAPES
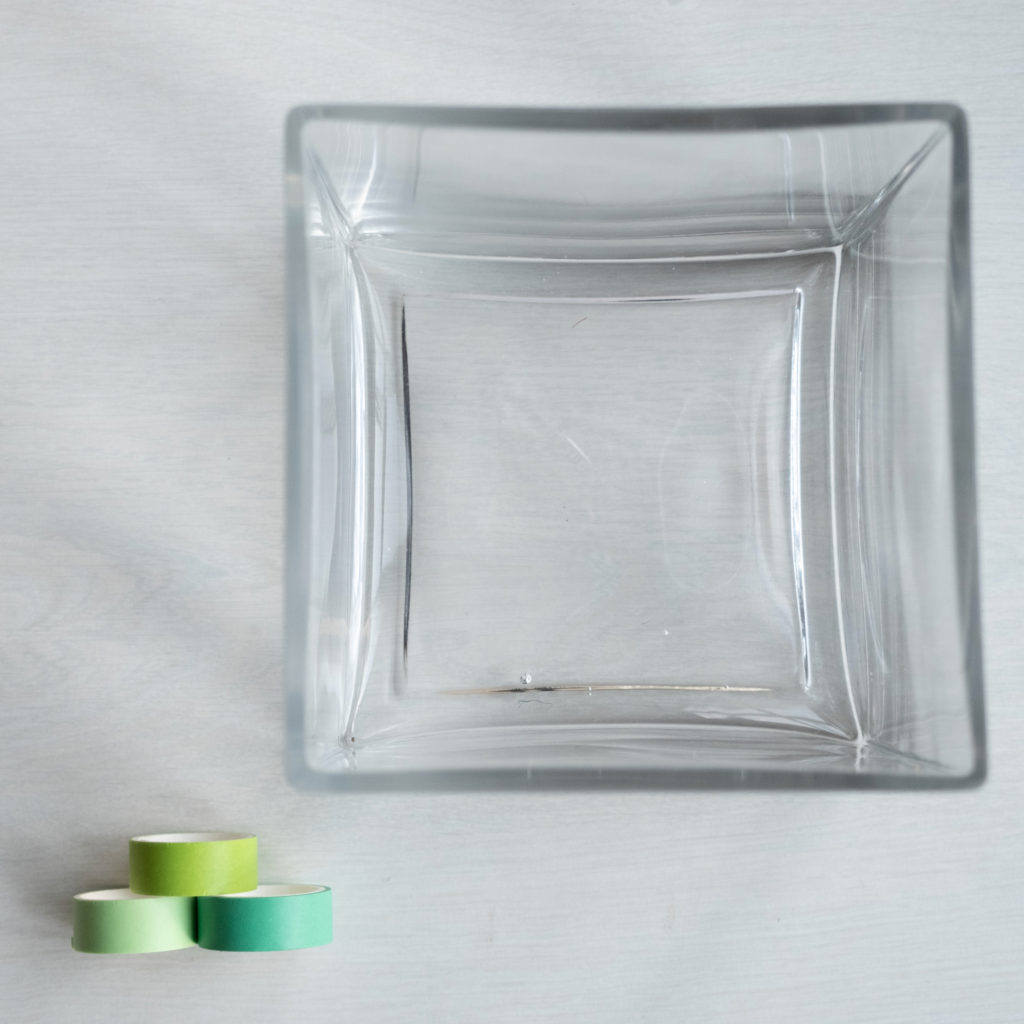
Step 1
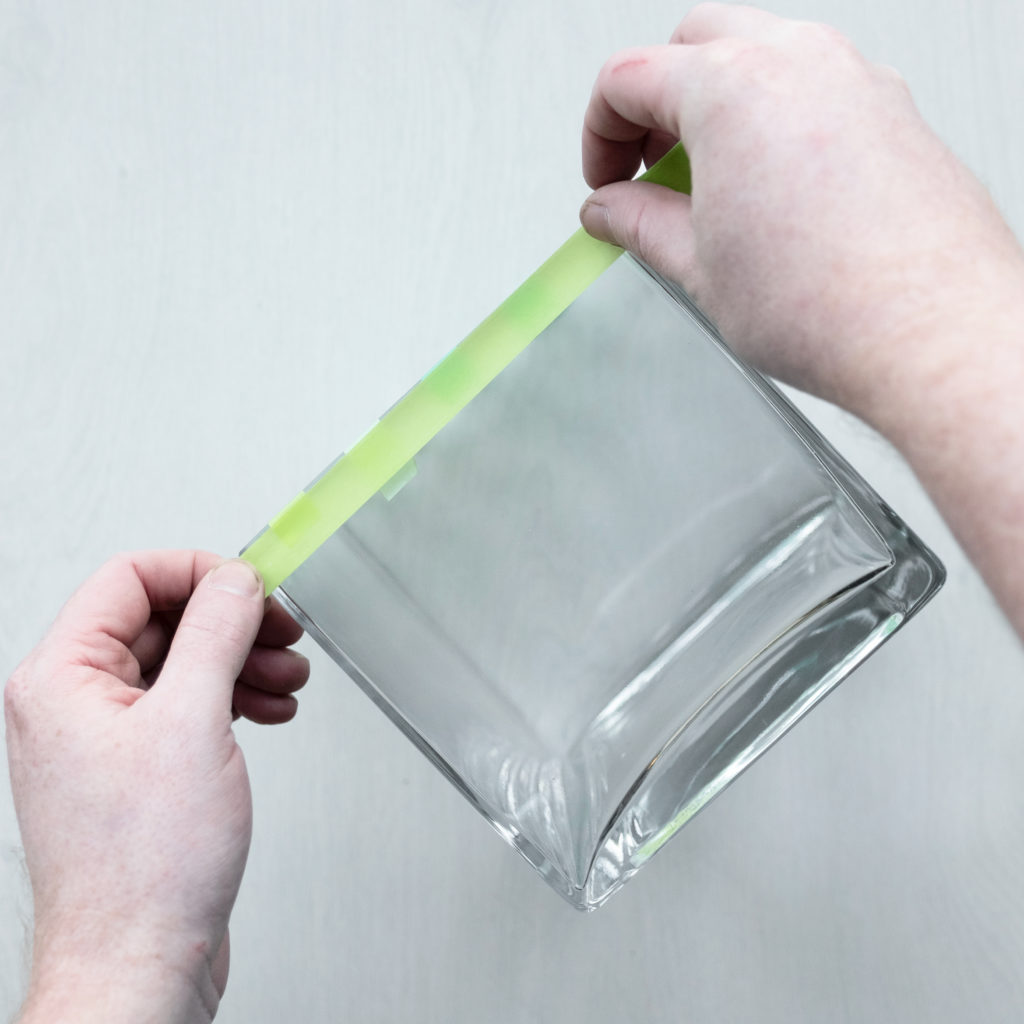
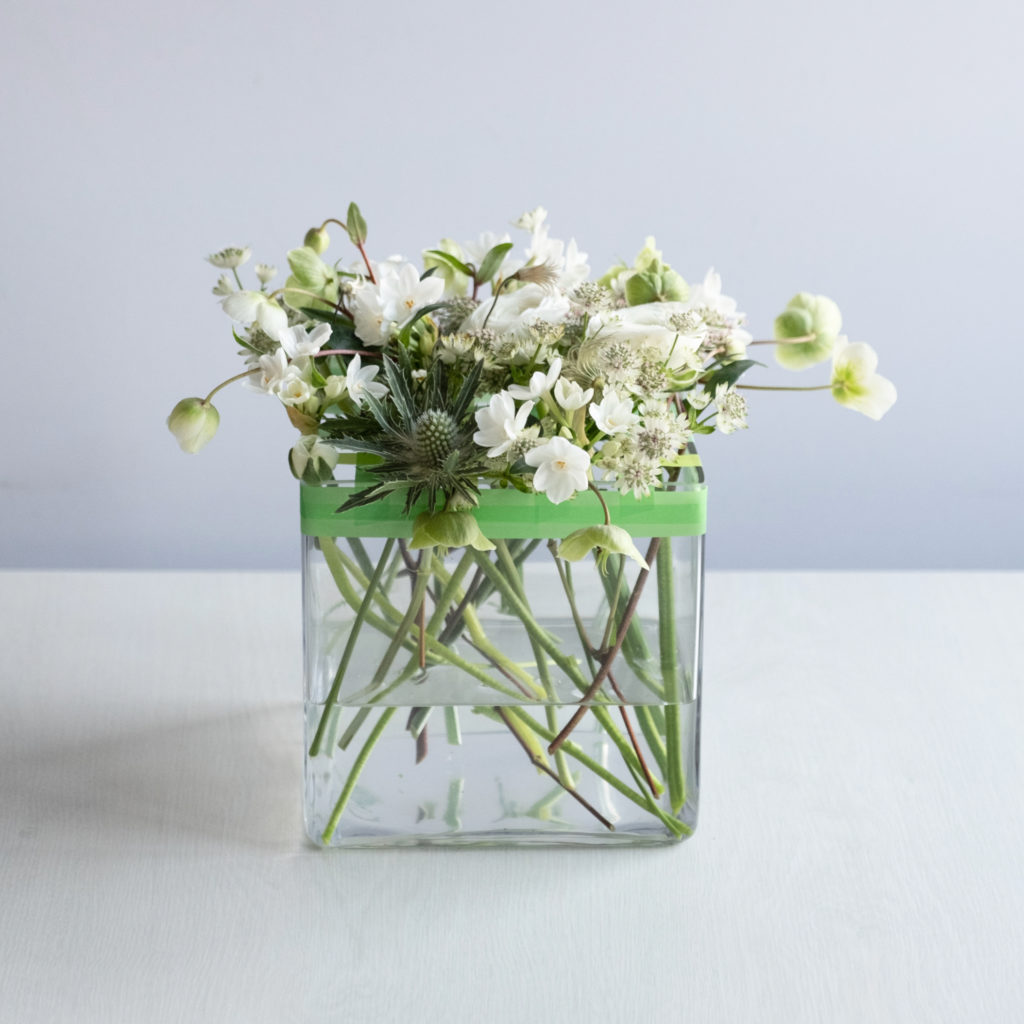
Begin by selecting a clean, dry vase. Square or rectangular vases are by far the easiest to use, however this technique can be used on nearly any shape or size of vessel. The grid technique has been used for decades utilising one key item – pot (or anchor) tape – but today we’re giving that same technique a new lease of life by using decorative washi tapes. Washi tape is a decorative, adhesive tape made from traditional Japanese paper (wa meaning ‘Japanese’ and shi meaning ‘paper’) that’s great for craft (or floral design!) projects. Unlike western paper which is made from tree pulp, washi comes from Japanese shrubs, and typically, it’s made from gampi, mistumata or hemp, but it can be fashioned from almost any plant. Washi tape is made out of highly renewable resources and is biodegradable – which is good news for everyone, all around.
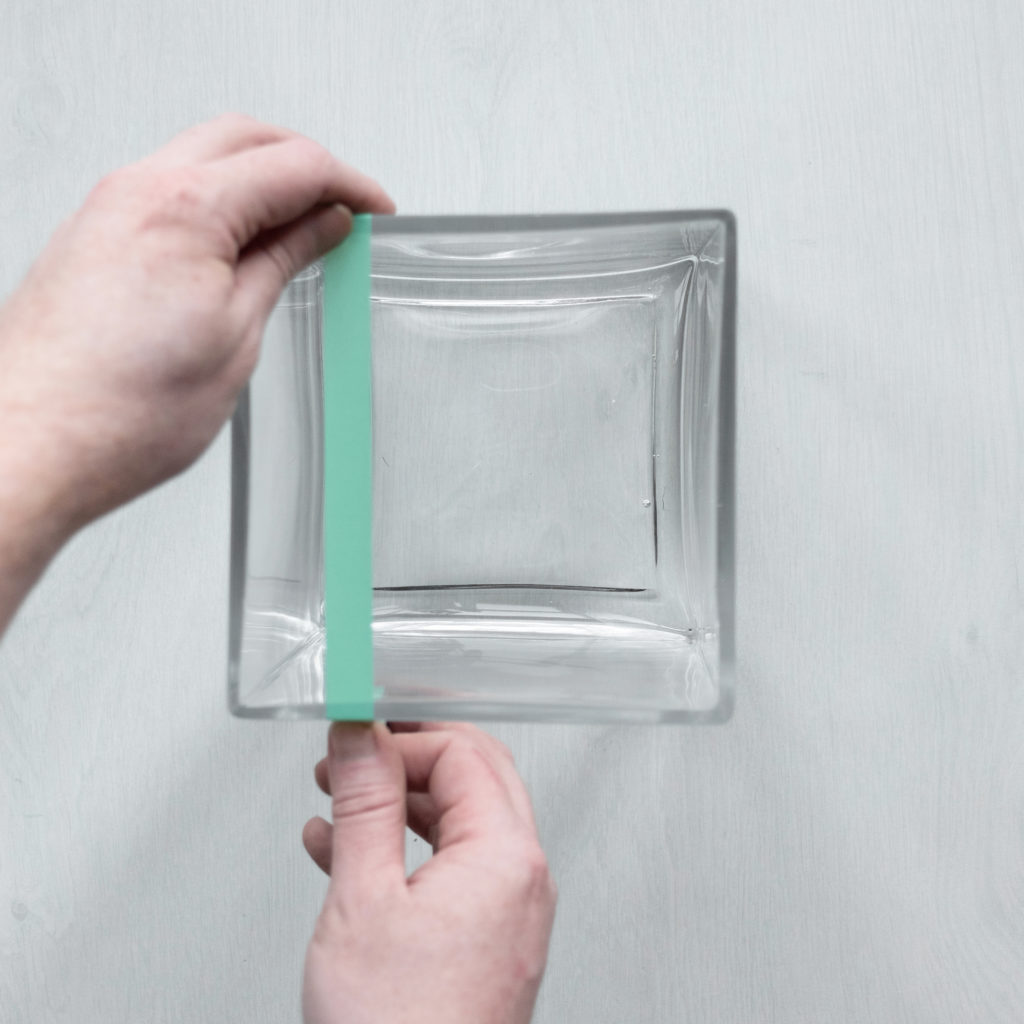
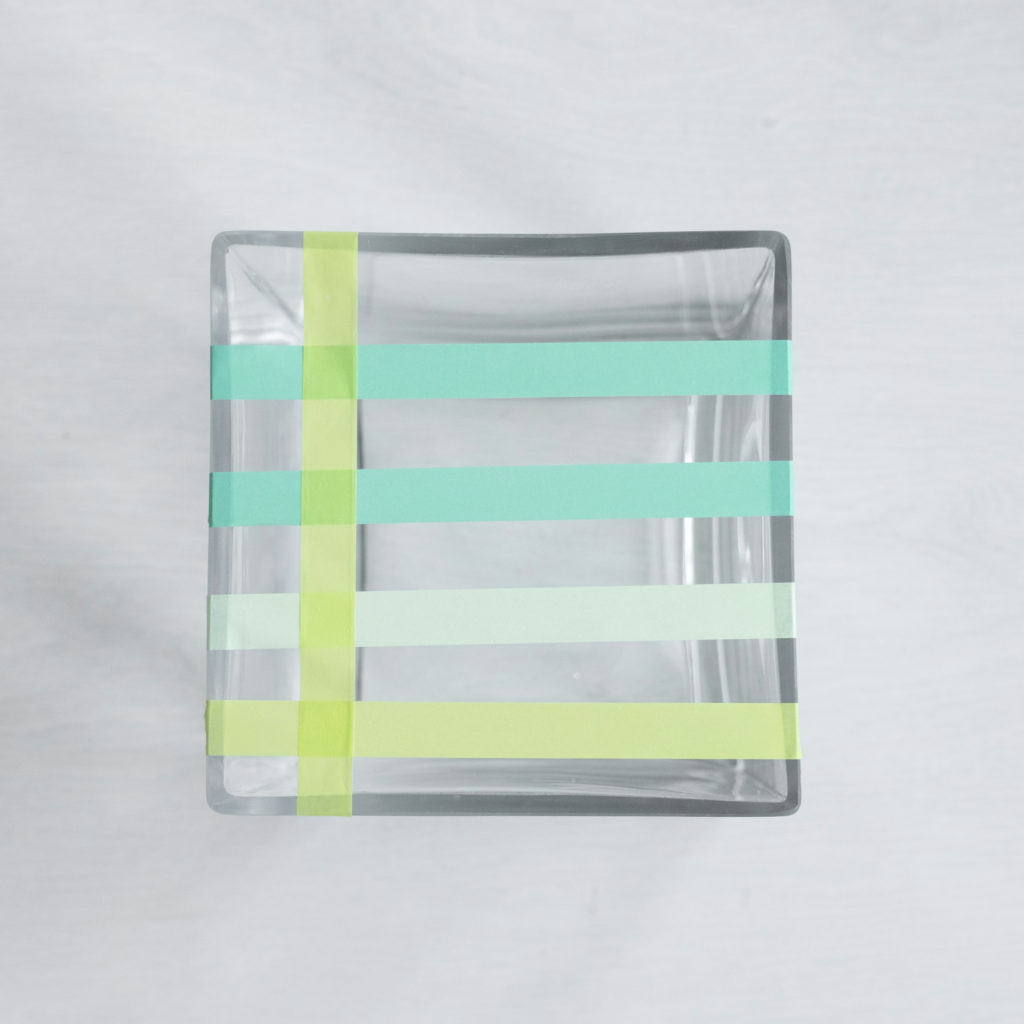
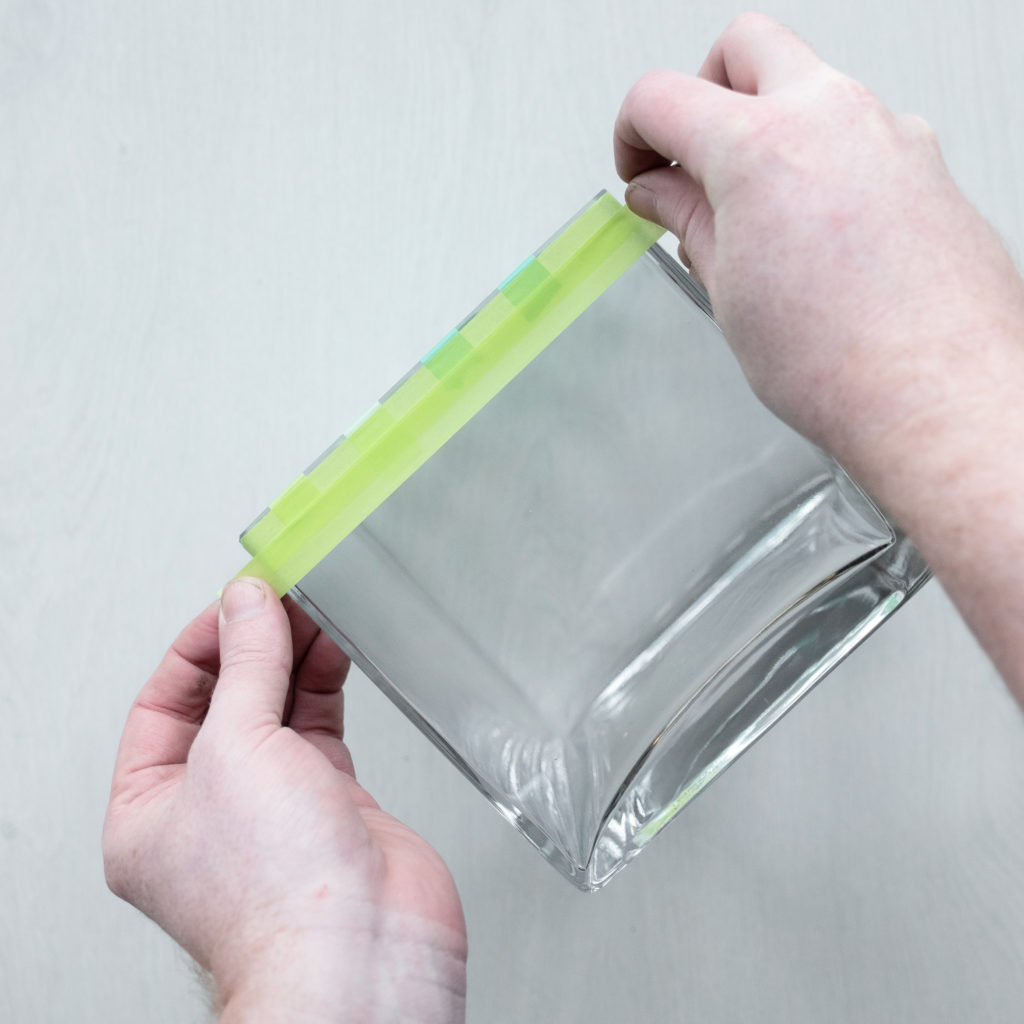
Select a handful of washi tapes in colours to match your project. Start to add lengths of washi tape across the base, from top to bottom, and ensuring that the tape continues down onto the sides of the vase by about 1-2 cm approximately, to ensure the tape holds securely on both sides of the vase. For this design I’ve used three colours of complimentary washi tape, however, you can use just one single colour of tape, or more – the choice is yours.
Step 2
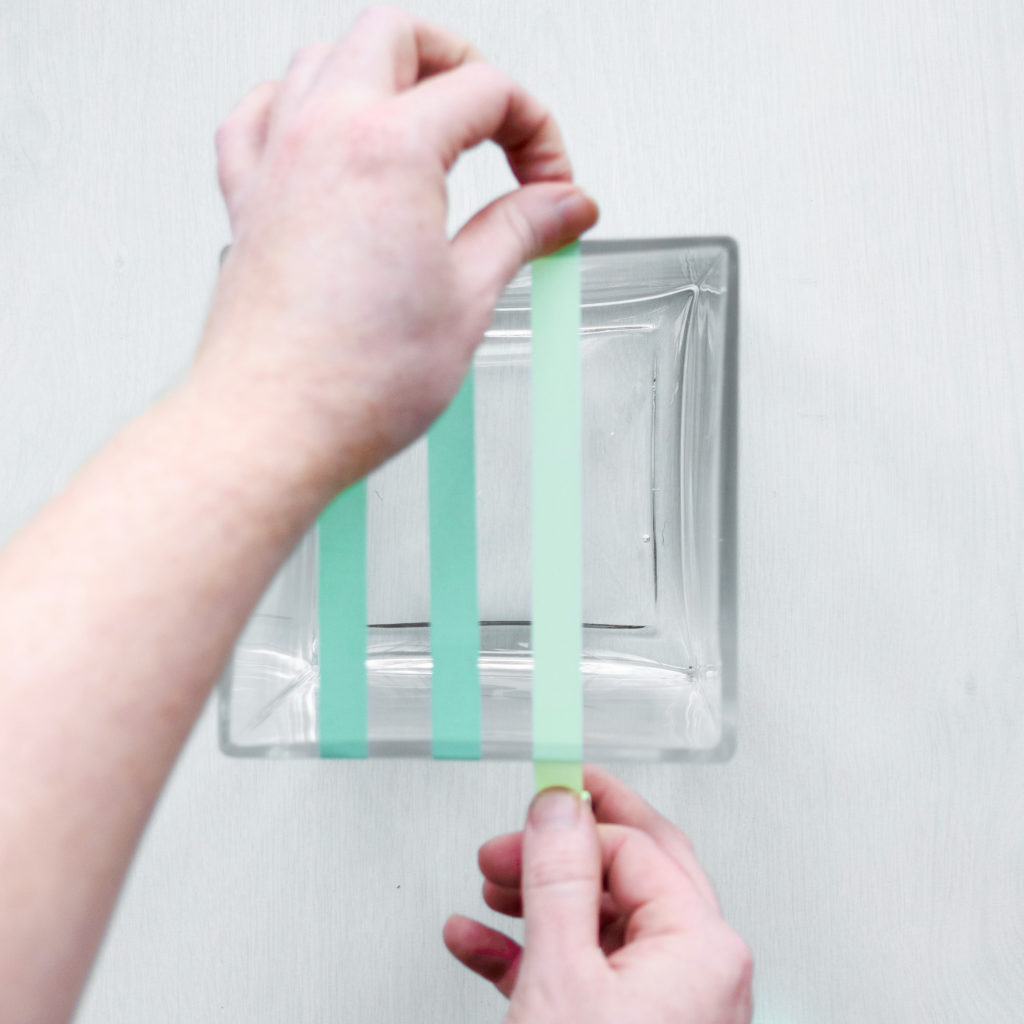
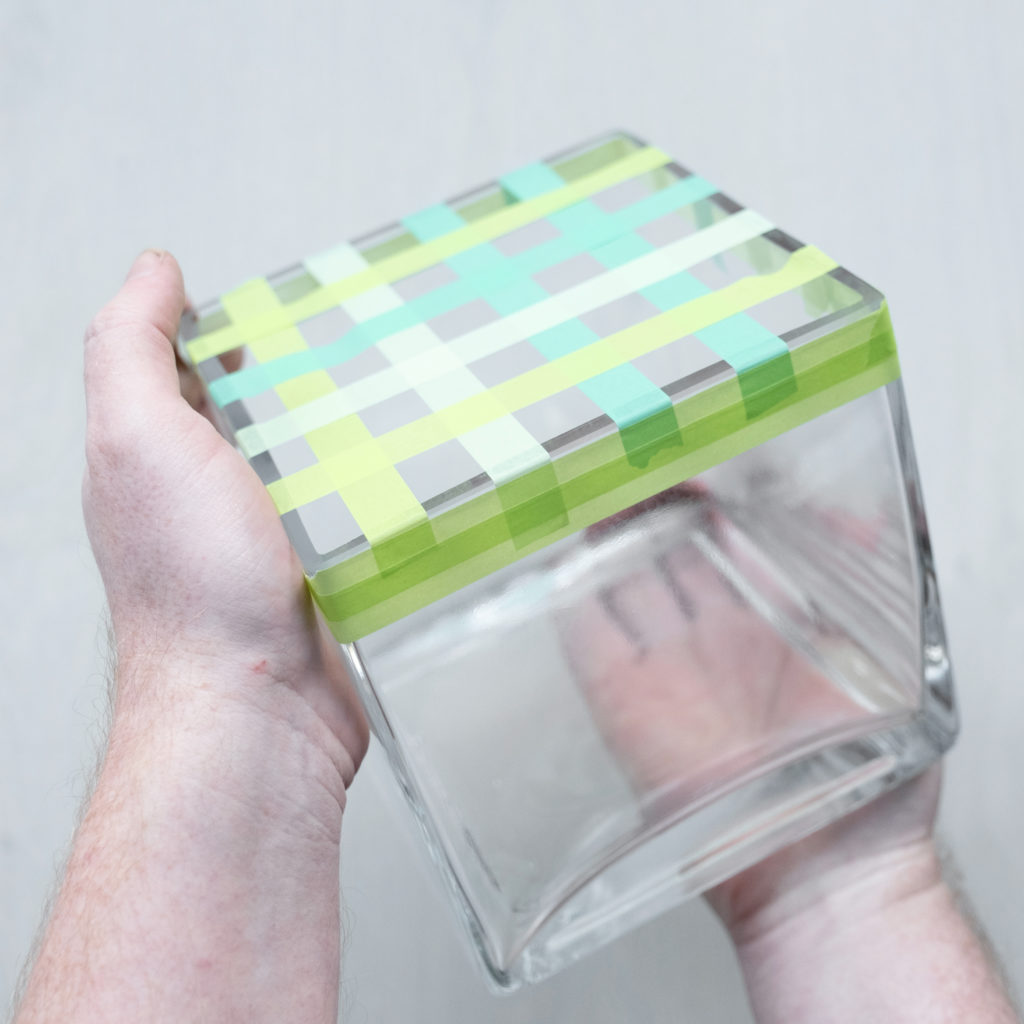
You can see in the images above that the first lines of tape have been applied, giving a space approximately 2-3 cm from the side of the vase. A space of 2-3 cm between each line of tape is recommended for most designs. Continue to add further lines of tape to the vase, from left to right, continuing to divide the space uniformly. Continue to add lines of horizontal tape across the neck vase, until no further lines of tape can be added within the space.
Step 3
Next, turn the vase 90 degrees and repeat the same process as before — adding further lines of tape, from top to bottom, creating even squares of tape across the vase.
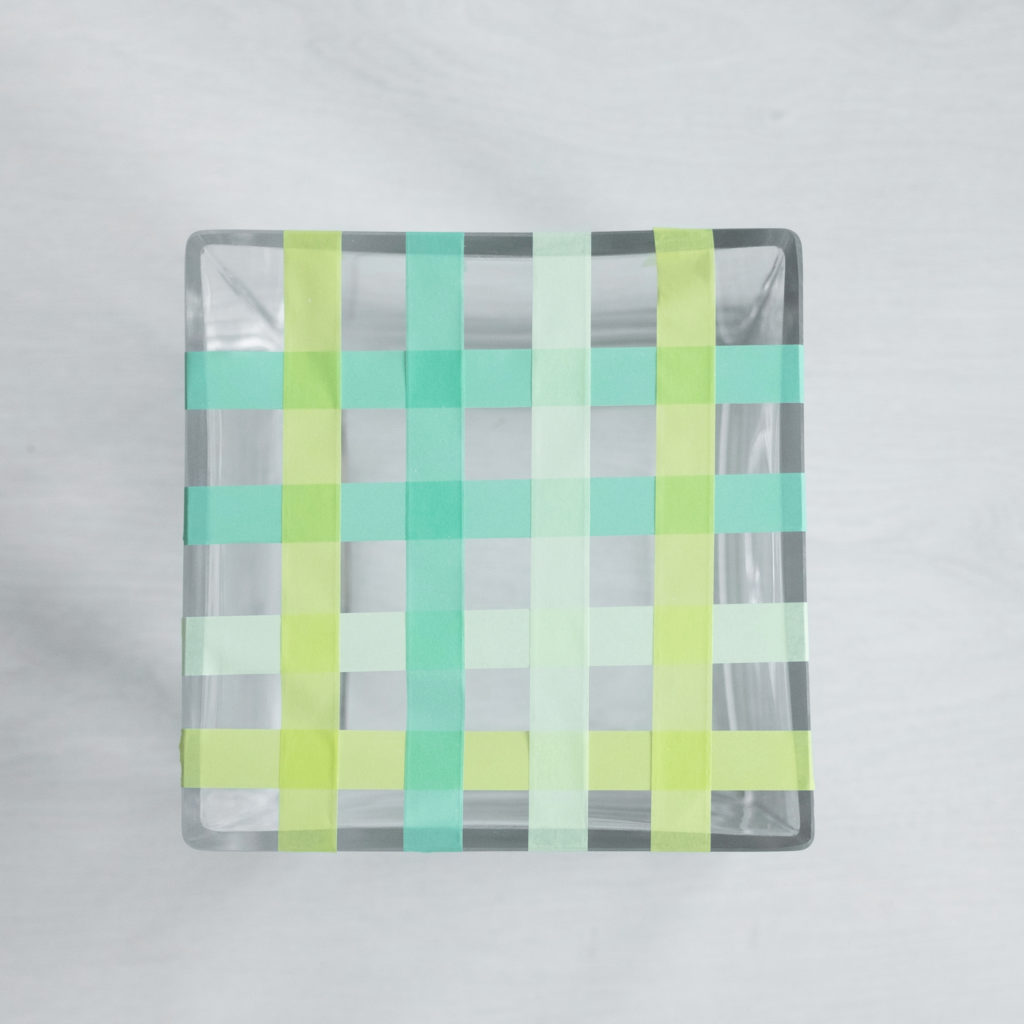
Step 4
For additional security, next add a line of tape placed adjacent to the rim of the vase, and continuing all the way around the rim of the vase.
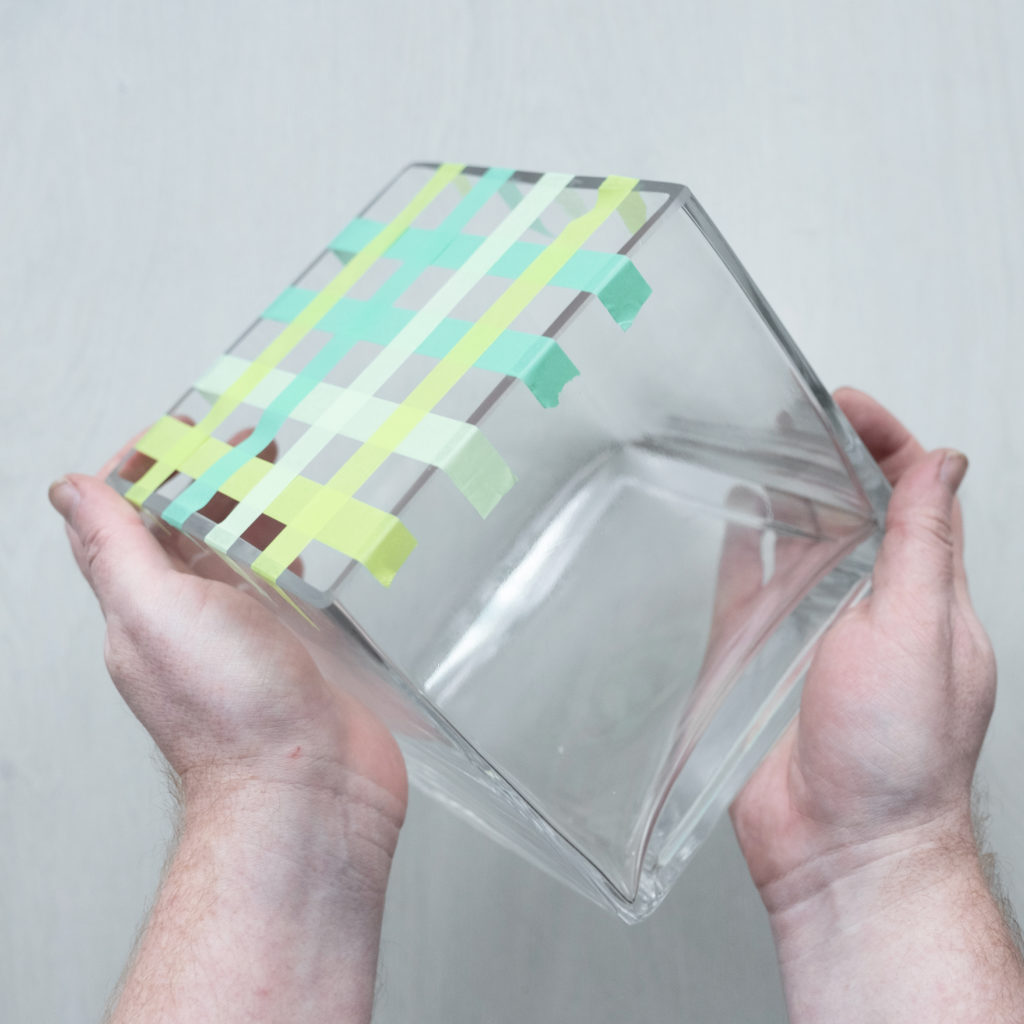
The line of tape will lay atop the tapes you have initially placed across the neck of the vase, and bind these pieces of tape in position, providing additional adhesion should any of the tape begin to come loose.
Your finished case will look similar to the image above. As a final step, carefully add water into the vase ideally using a jug (ideally with a spout) so as to keep the tape as dry as possible to avoid weakening the tape structure.
Step 5
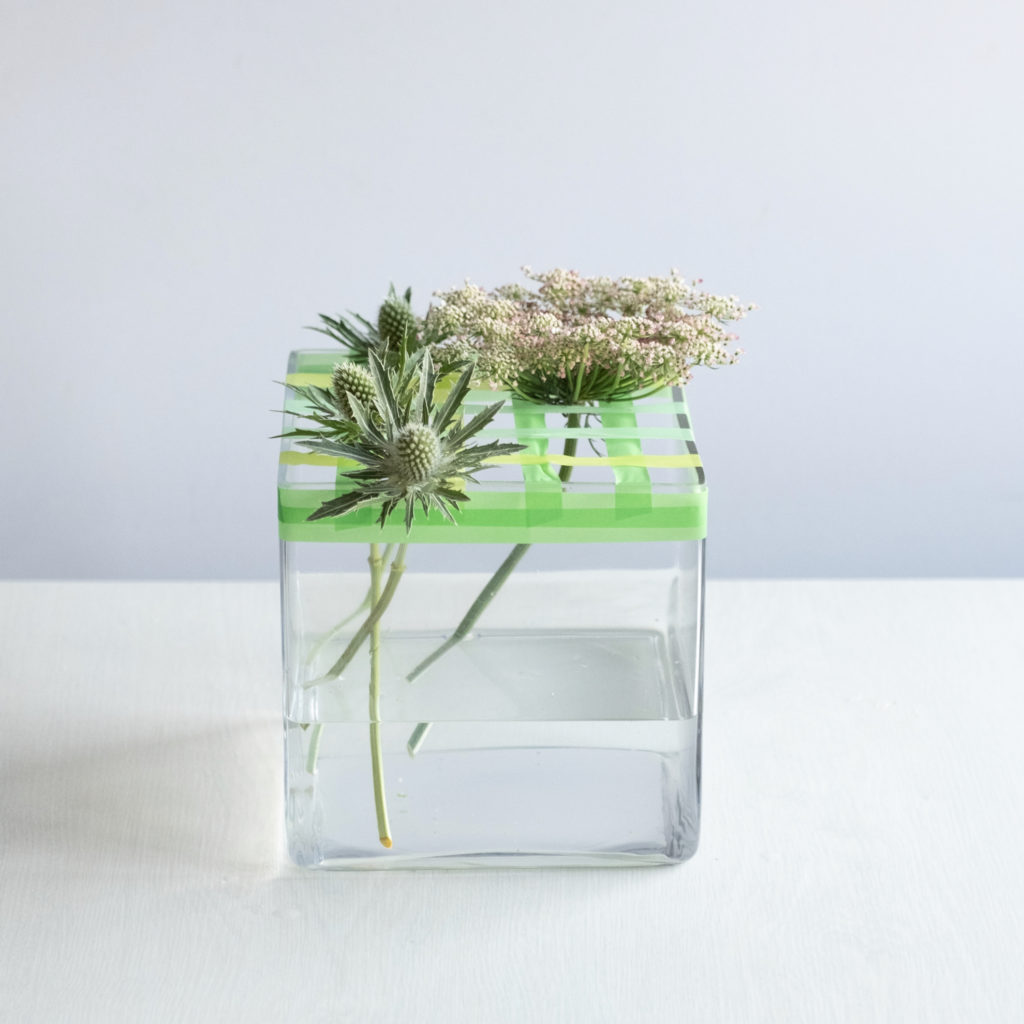
Begin by selecting a mixture of gorgeous Spring and Summer blooms — I’ve opted for Narcissus, Ranunculus and Hellebore, blended with other gorgeous blooms such as Eryngium, Daucus, Astrantia and Campanula to add further texture and interest to the design. Strip all blooms of every leaf, and as we’re not using any foliage within this design, select a handful of the larger blooms to act as your base within this design — I’ve opted to start with the Ammi & Eryngium.
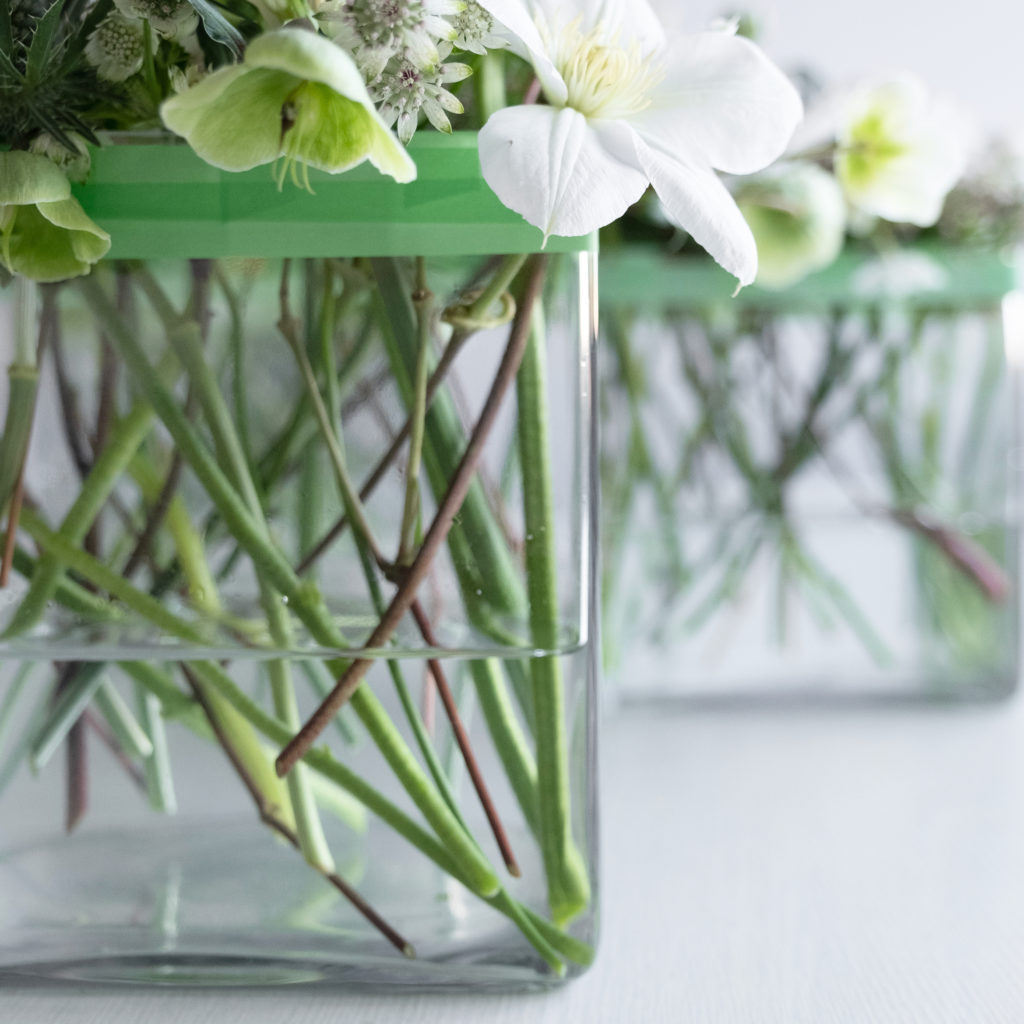
Trim each stem to fit within the vase, and slip the stems into the gaps between the washi tape. You’ll find that the washi tape will work beautifully to hold your stems in position, allowing the flower heads to rest easily upon the surface.
Step 6
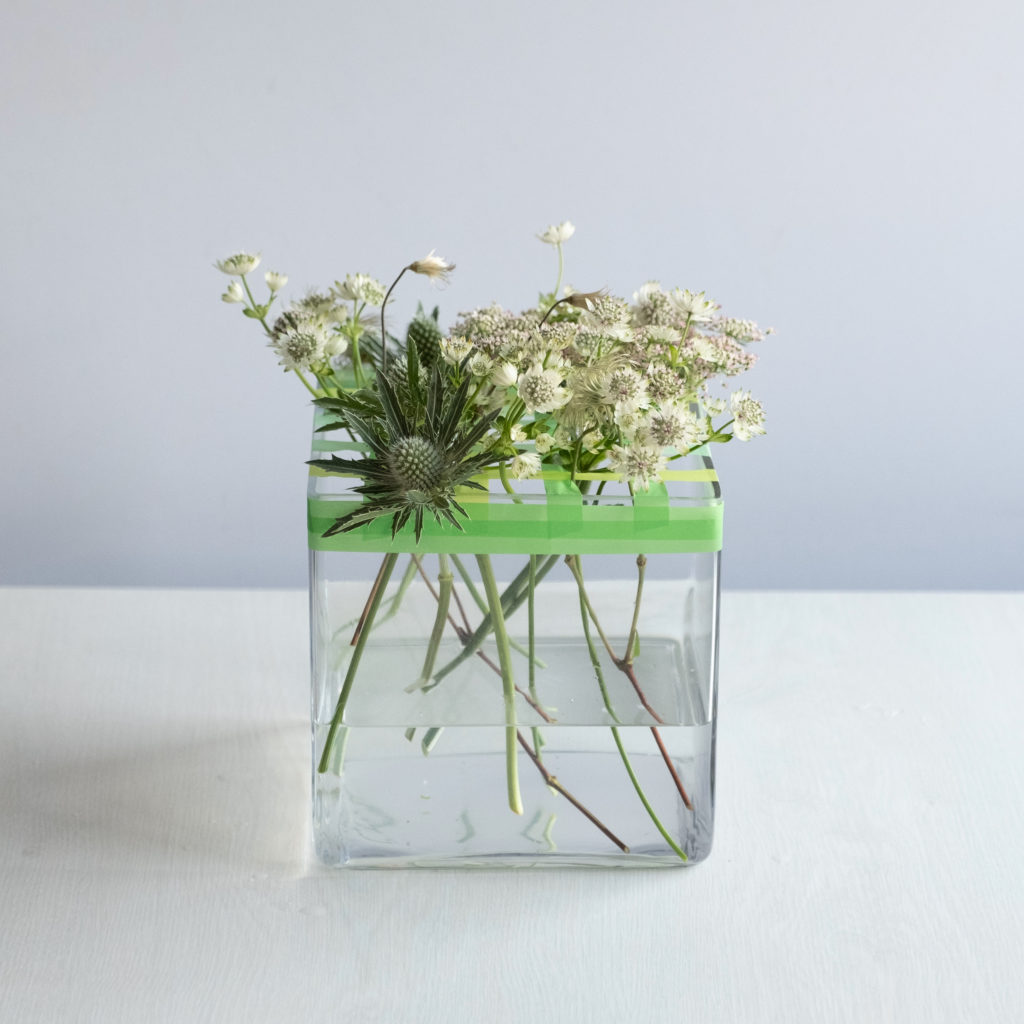
Continue to add in the smaller secondary and tertiary blooms into the vase, working through the delightful Hellebore, Narcissus, and Ranunculus. Aim for an even coverage of colour and texture atop the vase, with each and every stem hitting the waterline. Even though we’re saving our primary (or focal) flowers for last, when adding your secondary flowers into the composition, be conscious of the placements within the vase, and place the blooms in order to reflect the 3-5-8 placements. Doing so will mean that the secondary placements enhance the primary flowers you’ll place next, and not fight against them.

When adding your flowers, try to arrange the textures so there is a lightness to the blooms, with a little air hovering in-between.
Step 7
Once you’ve created a delicious texture of fabulous blooms across the top of your vase, it’s now time to add in our primary/focal flower — Clematis ‘Amazing Vienna’. As this bloom can be delicate, I’ve added this last into the arrangement. If your primary flowers do not bruise easily, then they of course can be added first into the vase, prior to adding the secondary or tertiary blooms.
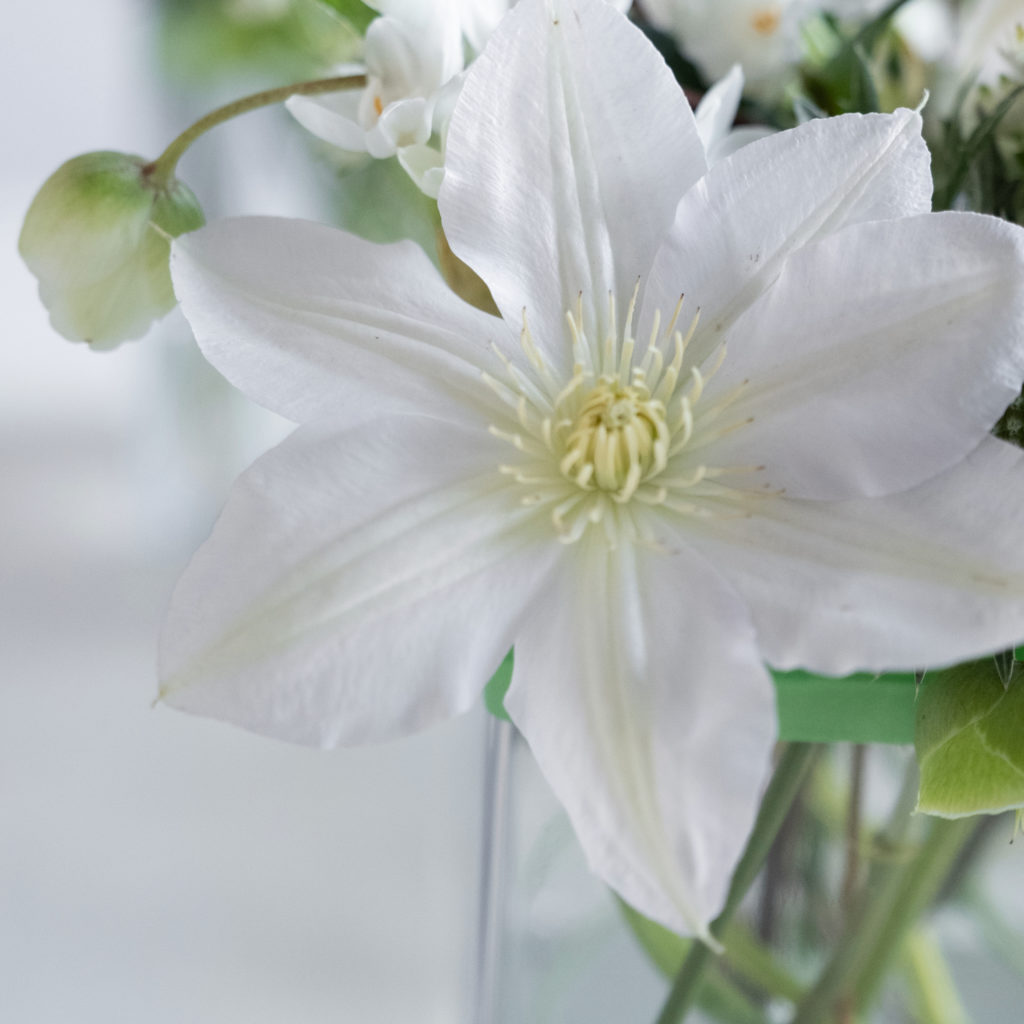
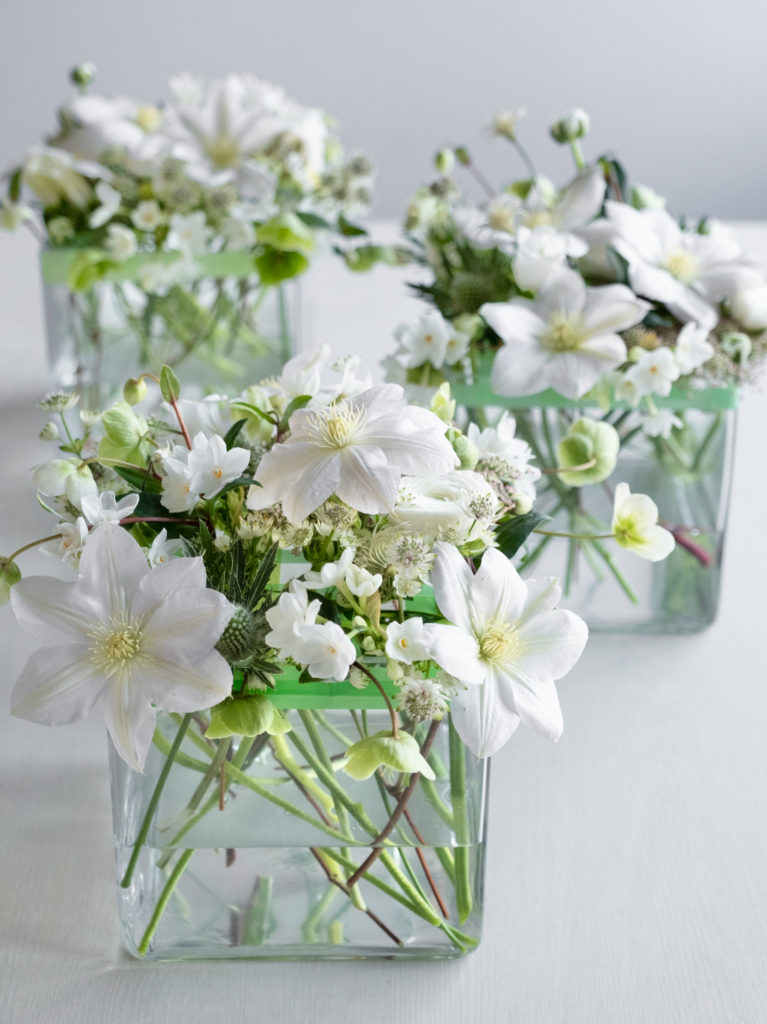
Trim the Clematis stems on a sharp angle, and delicately place the blooms into the vase, allowing their heads to gently hover atop the other blooms. Check your vases for any gaps, and add more smaller, tertiary blooms if required. Top up with water, and enjoy!
Special Thanks
Special thanks to Joseph Massie and Marginpar for providing inspiration and support to the floral profession. Because of their generosity, we’re able to help designers grow and hone their design skills. We’re grateful for the opportunity!
Joseph Massie’s brand new Flower Class includes:
- A monthly comprehensive design tutorial, featuring a commercial, sustainably minded floral design, and showing you how to create that design, from the very materials you’ll need, right through to delivery.
- A monthly live webinar with Joseph, dissecting a theory or business topic – which could be anything from how to use Instagram effectively, to a discussion on colour theory, or even an in-depth discussion with a guest tutor.
- An exclusive How I Made It article, published in full exclusively for Members each month.
- A monthly group support Zoom call to ask questions, discuss the month’s current topic, debate your ideas – essential for your continuous professional development.
- CLICK HERE TO LEARN MORE
Hear Joseph Massie on the Botanical Brouhaha Podcast: Click here.
Leave a Reply
Share your Thoughts:
Subscribe and stay connected
This site may contain copyrighted material the use of which has not always been specifically authorized by the copyright owner. It is being made available in an effort to provide educational information about all things related to floral design and production. It is believed that this constitutes a 'fair use' of any such copyrighted material as provided for in section 107 of the US Copyright Law. In accordance with Title 17 U.S.C. Section 107, the material on this site is available for viewing without profit to those who have an interest in reading or viewing the website information for educational purposes. If you wish to use copyrighted material from this site for purposes of your own that go beyond 'fair use', you must obtain permission from the copyright owner. If your copyrighted material appears on this web site and you disagree with our assessment that it constitutes "fair use," please contact us and we will remove it from our site.
Comments: